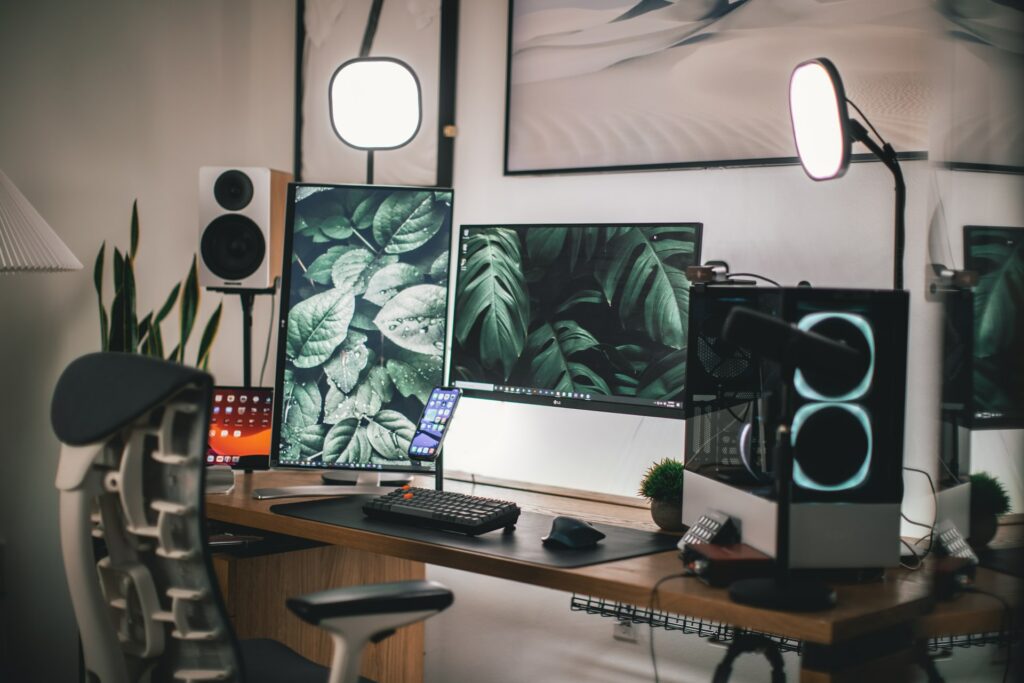
How To Record Gameplay While You’re Streaming.
So you’re making a video review or video essay for YouTube but being the content-savvy person you are, you’re going to stream at the same time. Wouldn’t it be nice if you could record gameplay footage while you stream without your camera and overlays in the recording? Well, it would be pretty surprising if I now didn’t explain how to do that, right? Let’s find out how!
Record raw gameplay footage while you stream with XSplit Broadcaster
One of the easiest ways to record gameplay footage while you stream is to use XSplit Broadcaster’s Recording Profiles. First things first we’re going to need to download, install, and set up XSplit Broadcaster. It’s pretty simple but here’s a link to our getting started videos. Here’s the super quick version though, sign up at XSplit.com then head to your dashboard, download Broadcaster, install, log in with the account you just set up with and let the wizard do its thing. Simple, right?
Next, we’re going to need to set up some scenes. First of all, we want to set up our streaming scenes. This is all personal preference of course but having a Starting Soon scene, the main scene, a BRB scene, and a “thanks for watching” scene are the minimum you’ll find useful for streaming
In your main scene you can add your camera, gameplay if that’s coming from the PC you’re on or a console through a capture card and you can add in a link to your overlays or alerts. Quick pro tip from an old Broadcaster pro, you can paste in any link by just hitting ctrl+V. This works for text and images as well so keep that tip in your back pocket!

On to the recording…
Now, for our recording, we’re going to want to set up another scene. Call it recording and simply add in your game source. Make it full screen and you are done! Simple. The magic comes when we start using the recording profiles.
First, click record in the top menu, and in the drop-down menu press “set up a new recording output”. From here you can select the scene we just made for the raw gameplay footage in the drop-down menu labeled “Record Target”. I’d suggest setting the Codec to NVENC if you have a compatible NVIDIA graphics card, and setting your quality to Ultra High if you have the hard drive space. You’re recording this gameplay footage while you stream for a video after all, so why not make it look nice?
Getting the settings right
Be sure to bump up the audio quality to 192kbps so it all sounds crisp and be sure to have Force constant frame rate selected. This should be selected as standard but it never hurts to check! One box that won’t be ticked that you want to make sure is ticked is “Create multitrack recording of microphone and system audio”. This will, well, I mean, to quote an old British TV advert, it does what it says on the tin, right? It’s going to create multiple tracks of audio for the recording so, your microphone audio that is going out to the stream? When it comes time to edit your gameplay footage, you can just delete that!
Click “OK” and when you go live just select the new recording output we just set up and you are good to go! You’ll find the file in your recording folder, which if you can’t remember where that is you can click on File, my recordings, and right-click on the recording you just did, and select open file location!
Recording gameplay while you stream is easy, huh?
This feature has been incredibly useful for me a number of times, and back when I was creating more content or reviewing games this would have really come in useful! Recording gameplay footage while you stream and no longer needing to have a separate program running or a piece of separate hardware is great for content creators!
But what tips have you developed as a content creator that have made your life easier? Let us know in the comments below! We’re going to keep making more articles like this with tips to make your life easier so be sure to keep it locked on the XSplit Blog!
