Mirrorless Cameras for Beginners
If you’re looking to produce interview content or just upgrade your camera for conference calls then you’ve probably been checking out a mirrorless camera. Now, if this is the first time you’ve thought about purchasing one of these cameras it can be very intimidating with terms like iso and aperture to learn and wondering if the camera will even work for the sort of thing you want to do! That’s why we’re here, to give you a beginner’s guide to mirrorless cameras.
Using Cameras for Streaming or Recording
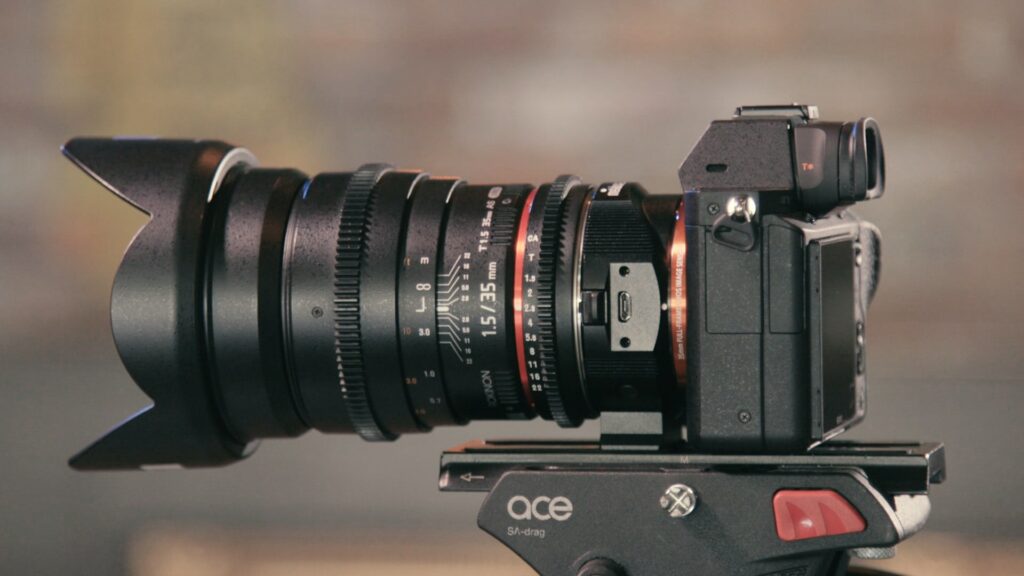
Before we dive into all the different mirrorless camera configurations and settings there’s something really important we need to figure out first; will it work with your content creation or productivity software? There are two things you want to check for on any mirrorless camera you’re looking to buy. First, check if it has a clean HDMI feed. This means that when you hook the camera up to a capture card it won’t have all the settings information you see on the preview screen going to the HDMI output. This clean feed usually has to be enabled in the settings.
Second, as an alternative to using a capture card, many modern mirrorless cameras have an app that will allow the cameras to functions as webcams via USB. This sort of information is normally found in the product description but if not either the manufacturer’s website or just giving it a Google will get you the answers you need!
Camera Bodies
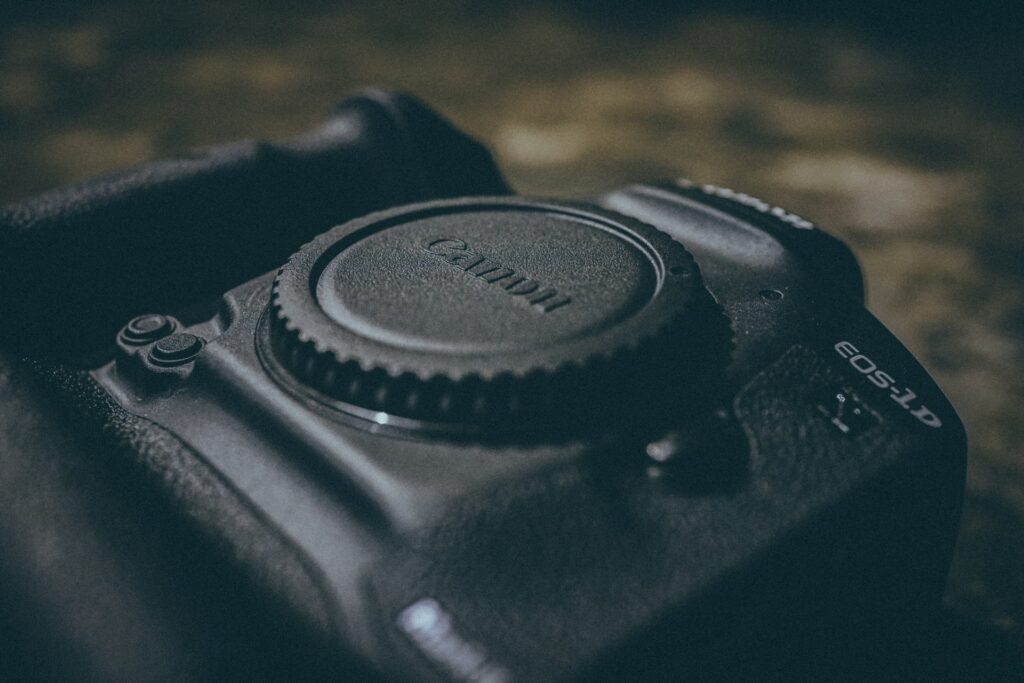
The first item you’ll need to purchase is a camera body and there are a variety of factors you need to take into consideration. First, it’s going to be the sensor size, of which there are three primary sizes for mirrorless cameras; micro four-thirds, APS-C and full-frame. Basically, what these sizes are referring to is the crop factor of the cameras. So, the full-frame is standard, APC-C is a 1.5x crop and micro four-thirds is a 2x crop. So, for example, if you had a 12mm lens on a full-frame the focal length would remain at 12mm, for APS-C that would become 18mm, and on a micro four-thirds lens that would be 24mm.
Generally speaking, the larger the sensor size the more expensive the camera body is going to be. So, if you’re on a budget you’ll likely get an APS-C or micro four-thirds as full-frame bodies are more expensive. This increase in price is also reflected in the lenses you can get for these camera bodies, which we will discuss later.
Also, most mirrorless cameras will have a micro-HDMI output, so you’ll need to buy a special HDMI lead, or an adaptor for your current HDMI leads if you plan to use the camera with a capture card. You’ll also need to buy a power supply for your camera as well or a lot of batteries to swap in and out if you plan to use it for an extended period of time. Some of these cameras will charge via USB, but a lot of the time you need to buy dummy batteries for third-party retailers if you wish to use them for something like streaming, or any use case that sees the camera on for hours at a time.
No matter which type of camera body you purchase, the image it outputs isn’t dependent on the amount of money you have spent on the camera, but by the effort you put into your lighting setup, this a topic we will cover here in the future so be sure to check back!
Lenses
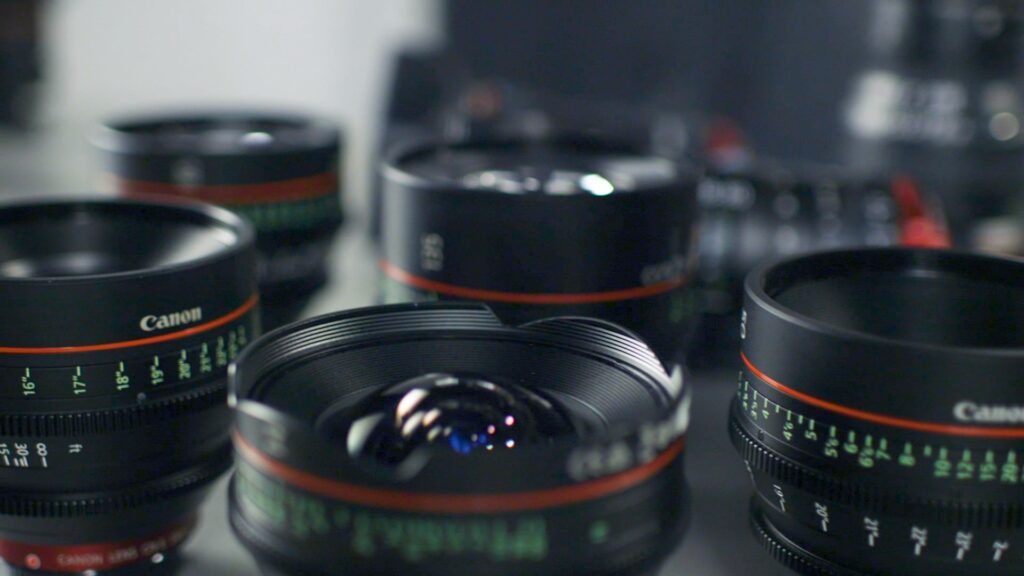
There are two main types of lenses, prime and zoom. Prime has a fixed focal length although you can usually play with that using zoom features on the camera body. Zoom lenses, as implied in the name, can change their focal lengths, but there are different kinds of focal lengths, large and small so let’s discuss what the differences are between them!
With a large focal length or longer length, you get a much narrower field of view and greater magnification. Basically, it brings things close and tight. With a smaller or shorter focal length, there’s a wide field of view and less magnification, so you can see the object and more of the background.
Lenses that are shorter than 24mm are known as wide-angle lenses. These are useful if you don’t have the space to put your camera far away, but wide-angle lenses can distort the facial features of a subject. Above 24mm, such as 35mm, 50mm, and 85mm, are popular focal lengths that don’t distort but generally complement facial features while giving you the space to keep the camera far enough away from the subject.
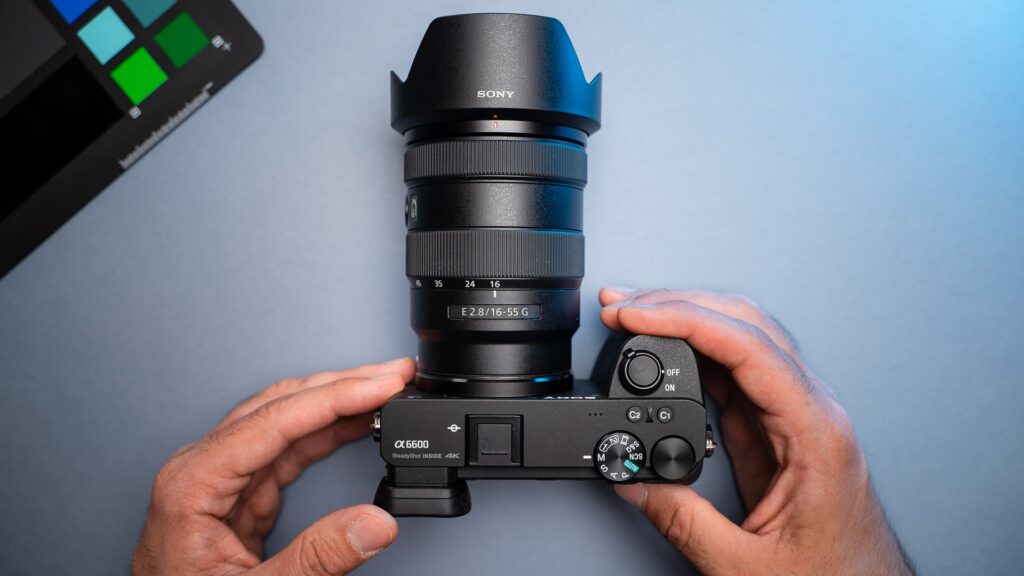
The next important feature of a lens is the aperture or f-stop. On your camera, you’ll see a number, usually below the focal length which shows the f-stop, the lower this number is the more light can get into the lens. This is not only useful for low light settings but also to add depth of field to a shot and get that blurred background effect.
A lot of the time, however, the cost can be a big deciding factor in what lens you are going to get. Generally speaking, wide-angle, zoom and lenses with lower aperture ranges will be more expensive. The price gap between a lens that’s for example, 2.8 vs 1.4 is quite high!
Also, it’s good to keep in mind the size of your camera body and your lens together. See how much space you have for your camera, take into account your sensor size and then look at your budget to make sure you can afford both the body and the lens. You may want to make some sacrifices in the aperture or focal length depending on the kind of content you’re looking to make or use case you have.
Camera Settings
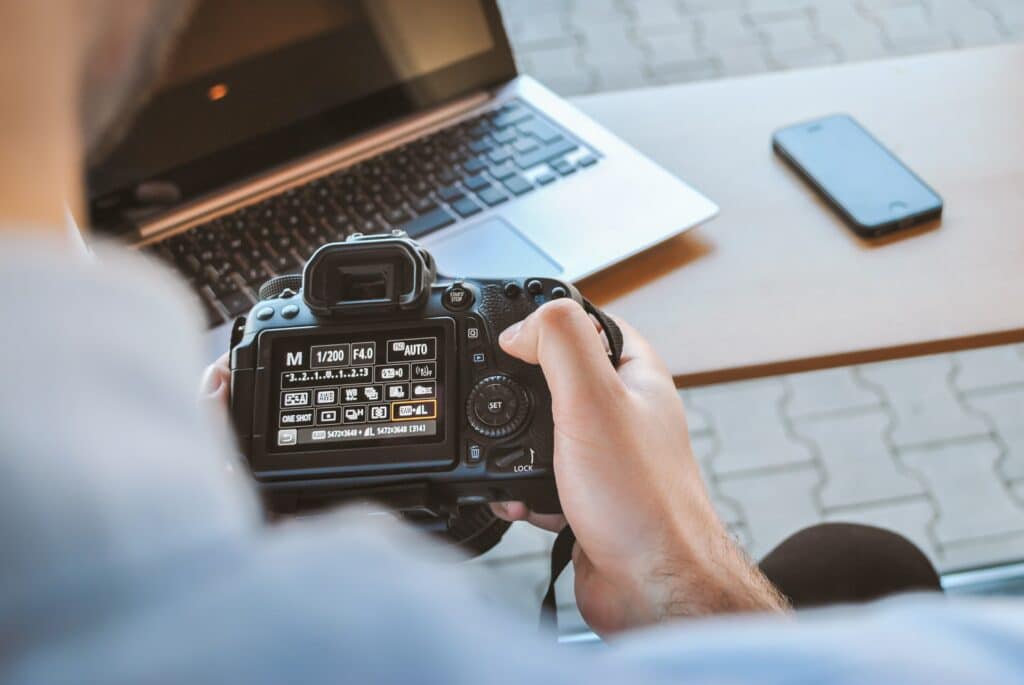
The settings with a mirrorless camera can seem confusing at first so let’s go over some of the basics! First, let’s look at the settings that affect exposure, or how light or dark the image coming out of the camera looks.
First up, aperture, which controls the amount of light coming through the lens. Lower apertures let in light but as we mentioned before, also affect the depth of field or the level or blur between objects that are in and out of focus. A higher aperture means more objects are in focus, but you’ll require more light from other methods to achieve good exposure. Another method is the iso. Iso is basically a digital gain that amplifies the amount of light coming in which can also add noise to the image, making it look less crisp. The higher the iso, the brighter the image but also the more noise you introduce.
Next is shutter speed. Shutter speed is usually meant for photography but for video, there is a rule of thumb you can generally follow. For a pleasing motion blur, you want to set your shutter speed to 2x that of your frame rate. So, if you’re doing a 30fps video, for example, set your shutter speed to 1/60. The lower the shutter speed the more light you let in, so use this as the final adjustment for exposure if necessary.
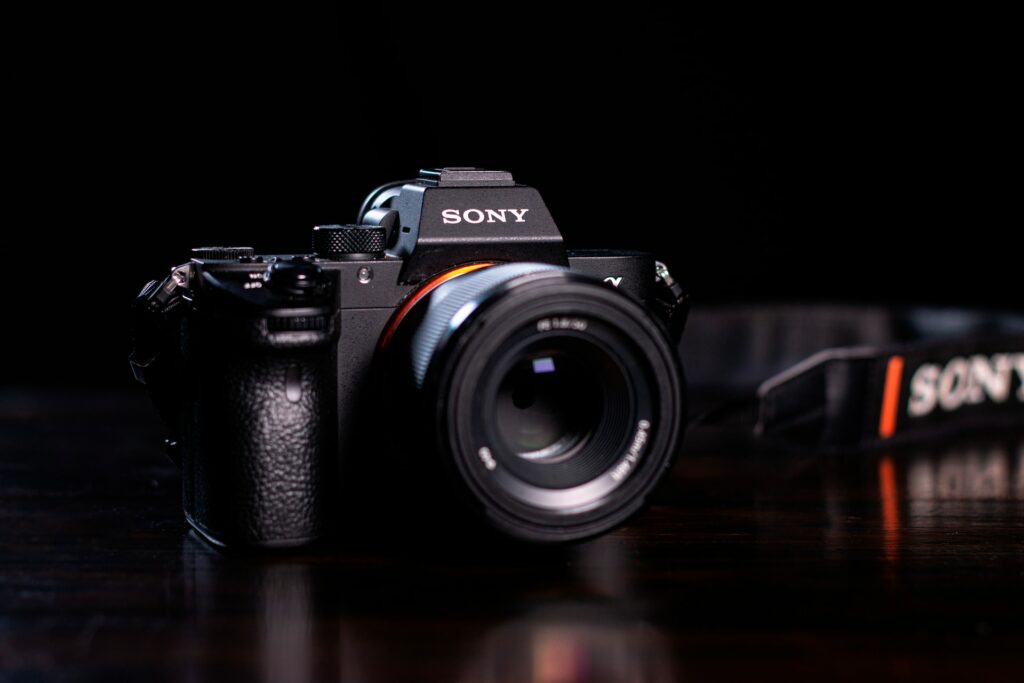
Next up, let’s have a look at setting your white balance, which is crucial to get accurate colors. While you can use auto-white balance, something most cameras offer, it’s recommended that you set your white balance using either the custom settings in the camera, using a white balance card held up next to the subject, or setting the kelvin manually if you know the kelvin settings for your lights.
Now cameras have a ton of other settings, like picture profiles and 10bit vs 8bit that will affect the look of the image and while we’re not covering all of them here I will say focus on getting your white balance and exposure right and you’re about 95% of the way to getting an amazing image out of your camera. Of course, if this is all too much there’s always full auto mode which usually gives pretty good results on modern cameras.
Capturing Your Camera
Now that you’ve gotten familiar with your camera’s settings and you have your exposure set it’s time to get it connected to your computer to create some content or look great in your next call! With software like XSplit Broadcaster and XSplit VCam you can capture your camera in a couple of different ways.
As we’ve mentioned, pretty much all modern mirrorless cameras have an HDMI output so connect this up to your capture card of choice and add it as a source in XSplit. This is easily done by going to Add Source > Devices > Video and selecting the capture card you have listed. From there it’s easy to move, adjust and resize your camera source. It’s pretty much the same with XSplit VCam, just select your capture card from the drop-down menu and you’re ready to use it in any software like your next Zoom call!
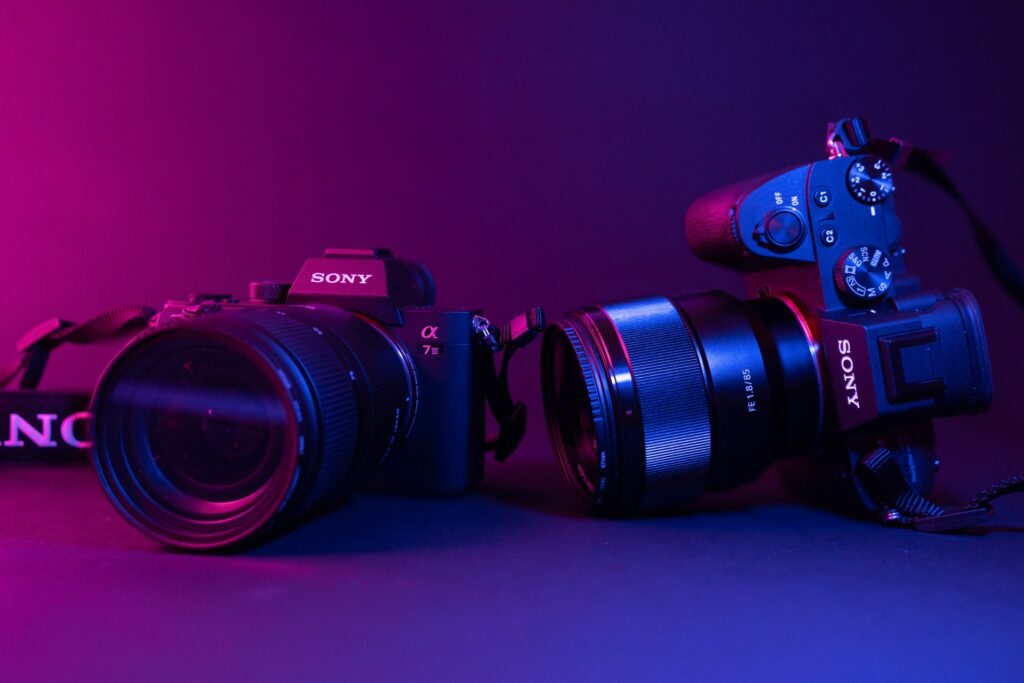
If you’re using the software provided with your camera, this can vary by manufacturer. Some will convert your camera into a virtual camera which you can then add in the same manner we described above. Other solutions will just have the camera appear in it’s own window on your desktop that you will then have to screen capture that in software like XSplit Broadcaster, which can itself act as a virtual camera and still be added to software like VCam or Zoom. One thing to note with this method is that due to limitations on USB bandwidth, you likely won’t be able to get above a 720p 30fps video signal.
Conclusion
With that, you should have a basic grasp of how to pick the mirrorless camera and lens to suit your needs, how to configure the settings and capture that video, but honestly, the videography well is endless! Try not to get too trapped in settings and purchasing bigger and better cameras. Finding the right body and lens that fit what you want to do with it but also conform to your budget are probably some of the biggest factors in your decision making! Let us know if this has been helpful or if there is anything else you’d like us to cover like this in the future!
